Storybook is a powerful tool for developing, documenting, and testing UI components in isolation. It can be incredibly useful when working with Sitecore XM Cloud projects. In this guide, I will walk you through integrating Storybook into the Sitecore XM Cloud Foundation Head project.
Prerequisites
Make sure you have the following installed:
- Node.js (We’ll use NVM to manage Node.js versions)
- GitHub CLI: Install it using the command below:
winget install --id github.cli
After installation, restart your terminal.
Step 1: Manage Node Versions with NVM (Optional)
To ensure you're using the correct Node.js version, install NVM (Node Version Manager) for Windows.
- Download the NVM for Windows installer.
- Install the latest Node.js version by running:
nvm install latest- Verify the installation with
node -v
Step 2: Clone the Sitecore Foundation Head Repository
Now, authenticate with GitHub using the CLI and clone the Sitecore XM Cloud Foundation Head repository:
gh auth logingh repo clone sitecorelabs/xmcloud-foundation-head-devcd xmcloud-foundation-head-dev
Step 3: Install Dependencies
In the project directory, install the necessary dependencies:
npm install Once dependencies are installed, build and start the project:
npm run buildnpm start
Step 4: Set Up Storybook
Install Storybook CLI
If you don’t already have npx installed globally, do so by running:
npm i -g npx Now, initialize Storybook in your project:
npx storybook init Step 5: Add Additional Packages
To extend Storybook functionality with additional features, install the following packages:
npm install --save-dev @storybook/addon-actions @storybook/addon-links @storybook/nextjs Step 6: Update package.json Scripts
To streamline Storybook’s usage in your project, update the scripts section in your package.json file to include the following commands:
"scripts": {
"prestorybook": "",
"storybook": "storybook dev -p 6006",
"build-storybook": "storybook build"}
Step 7: Configure TypeScript (If Applicable)
If your project is using TypeScript, you may need to adjust the tsconfig.json file to ensure that Storybook resolves the correct type definitions.
- Open
tsconfig.json. - Update the
compilerOptionssection with the following entry:
"compilerOptions": {"paths": {"react": ["node_modules/@types/react"]}}
This ensures that Storybook uses the correct React type definitions, which is critical for TypeScript-based projects.
Step 8: Run Storybook
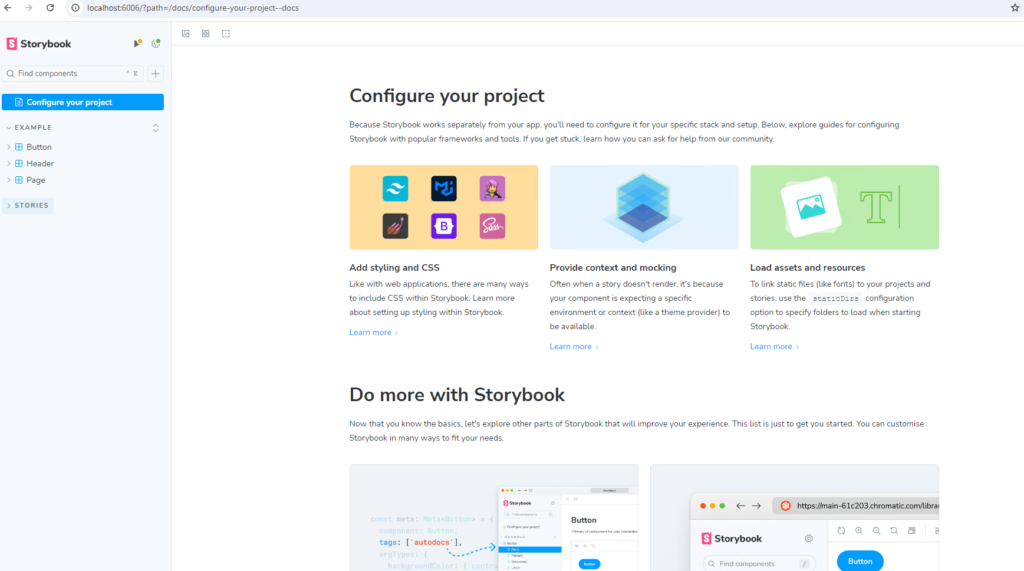
To start Storybook and view your components in an isolated environment, simply run:
npm run storybook This will launch Storybook on http://localhost:6006, where you can view and interact with your components in real-time.